Geofolia
How do I adjust the scaling of the menu ribbon within Geofolia?
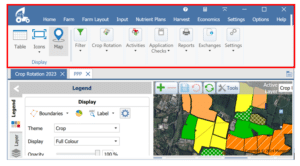
Simply hold down the CTRL key and scroll your mouse wheel till they are where you want them
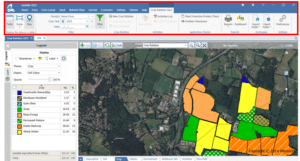
You can do this at any point in Geofolia and isn’t specific to the crop rotation map.
How do I add or edit a field on my Geofolia map?
How to toggle the black boundary points on and off in my map?
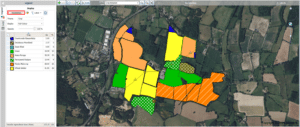
This will toggle the boundary points of your fields on, making it look like this
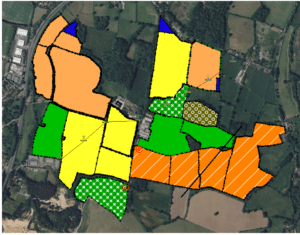
To turn it off simply press the Boundaries button again.
How do I turn my field name labels off?
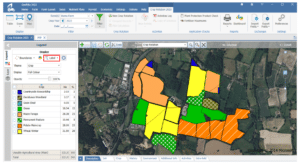
This will show the names, size of the field and variety by default
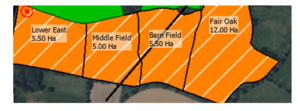
If you click the settings cog  by the label button you can add or remove what you want the label to show

To turn these off simply by reselecting the labels button.
How do I edit the size of my field once I’ve imported it?

As you can see above the Map Area is different to the Area, Geofolia works off the Area and not the Map Area, so long as the map looks close to the field on the farm the Area can be inputted to the correct value. To edit simply click in the Area box and overwrite it

When you next complete and activity the systems will use the new entered Area in any calculations

This will get carried over year on year however will not affect the previous years if that has been changed for contracting or different field margins.
How do I merge two different fields in Geofolia?
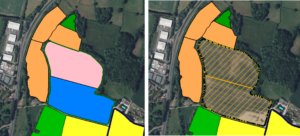
With them both selected go up to the tools button at the top of the map and select the merge button
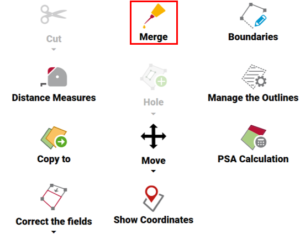
This will come up with the new field box where you can change the name, crop and details about the field as if you are creating a new field.
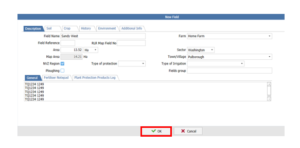
Click the OK button when you are happy with the details entered and this will bring the two halves of the field back as one, it is worth noting you can only do this when the two field boundaries are touching.
How do I change the settings when printing reports?
Go into a report and press the Printer setup button in the bottom left corner for the settings
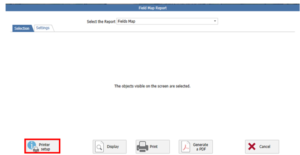
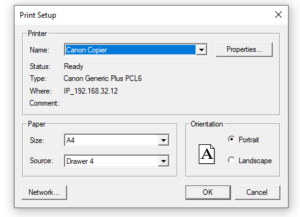
The size and the properties of the print can be selected here, this will edit the way the report presents when created so will need to be changed back to the default A4 or some reports will generate in the wrong height or width
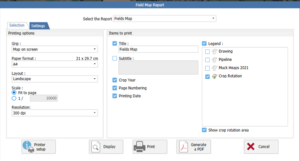
Some reports will also have print options in the Settings tab to the right of the Selection tab, this will allow you to select certain aspects such as drawings or layers in this example, but it will vary by report
How to set up and use the link between KEYPrime Accounts & Advanced and Geofolia?
View our link notes for KEYPrime to Geofolia here
FIELD MAPPING
How to add or edit activities in Geofolia?
How do I add adjuvants and water conditioners in Geofolia?
How to put Foliar Fertilisers and other Non-Default Inputs on spraying activities?
A good rule of thumb is if it doesn’t have a MAPP number it will initially struggle to be put on a spraying activity.
Using the foliar fertiliser as an example, start in your input tab and select Fertiliser

In your Fertiliser tab either create or edit your fertiliser so that its type is correct, in this example I’ll use Manganese
![]()
The next step is to check the Settings tab, more specifically your Activity settings

In your spraying activity you will need to check your Settings and Default Values –

In the Settings you will need to make sure the Quantity of Fertilising Element (NPKMgS) is checked
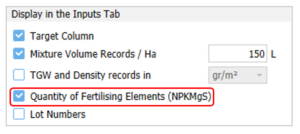
And in the Default Values make sure foliar fertiliser is present in the acceptable Input Type
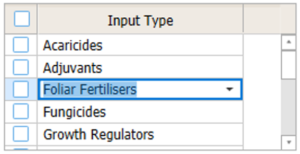
Once all this is done it should present as an option in the spray activity.
How do I record spot spraying activities in Geofolia?
 ACTIVITIES
How do I import my agronomist’s recommendations from Gatekeeper?
When you have received your recommendations file from the agronomist, view this PDF to import them into your activities log in Geofolia.
How do I view all of the activities in my activities log?
Can agronomists using Pear Adviser software export spray recommendations for import into Geofolia?
Need help?


